Building a Robot on Basis 01 - Hardware
Kyle Franz
Nov 22, 2024I’ve spent the past few weeks working on a small robot to both be able to give demos with and exercise our code. This is a quick post on the hardware I bought, and what’s worked/not worked.
- Part 01 - Hardware (You’re here!)
- Part 02 - Software
- Part 03 - tf2 support and LiDAR
The hardware:
- FreeNove 4WD Smart Car Kit w/ Mecanum Wheels - this is the main body and hardware for the robot
- Raspberry Pi 5 8GB
- Raspberry Pi 5 Active Cooler
- Raspberry Pi 5 SSD Hat
- Corsair MP600 CORE MICRO 1TB NVMe SSD
- Mean Well RSP-75-7.5
- Various other electrical bits and pieces
- SLAMTEC RPLIDAR (Future)

All in all, I think I’ve spent a bit over $500 dollars on this project.
FreeNove 4WD Smart Car Kit w/ Mecanum Wheels
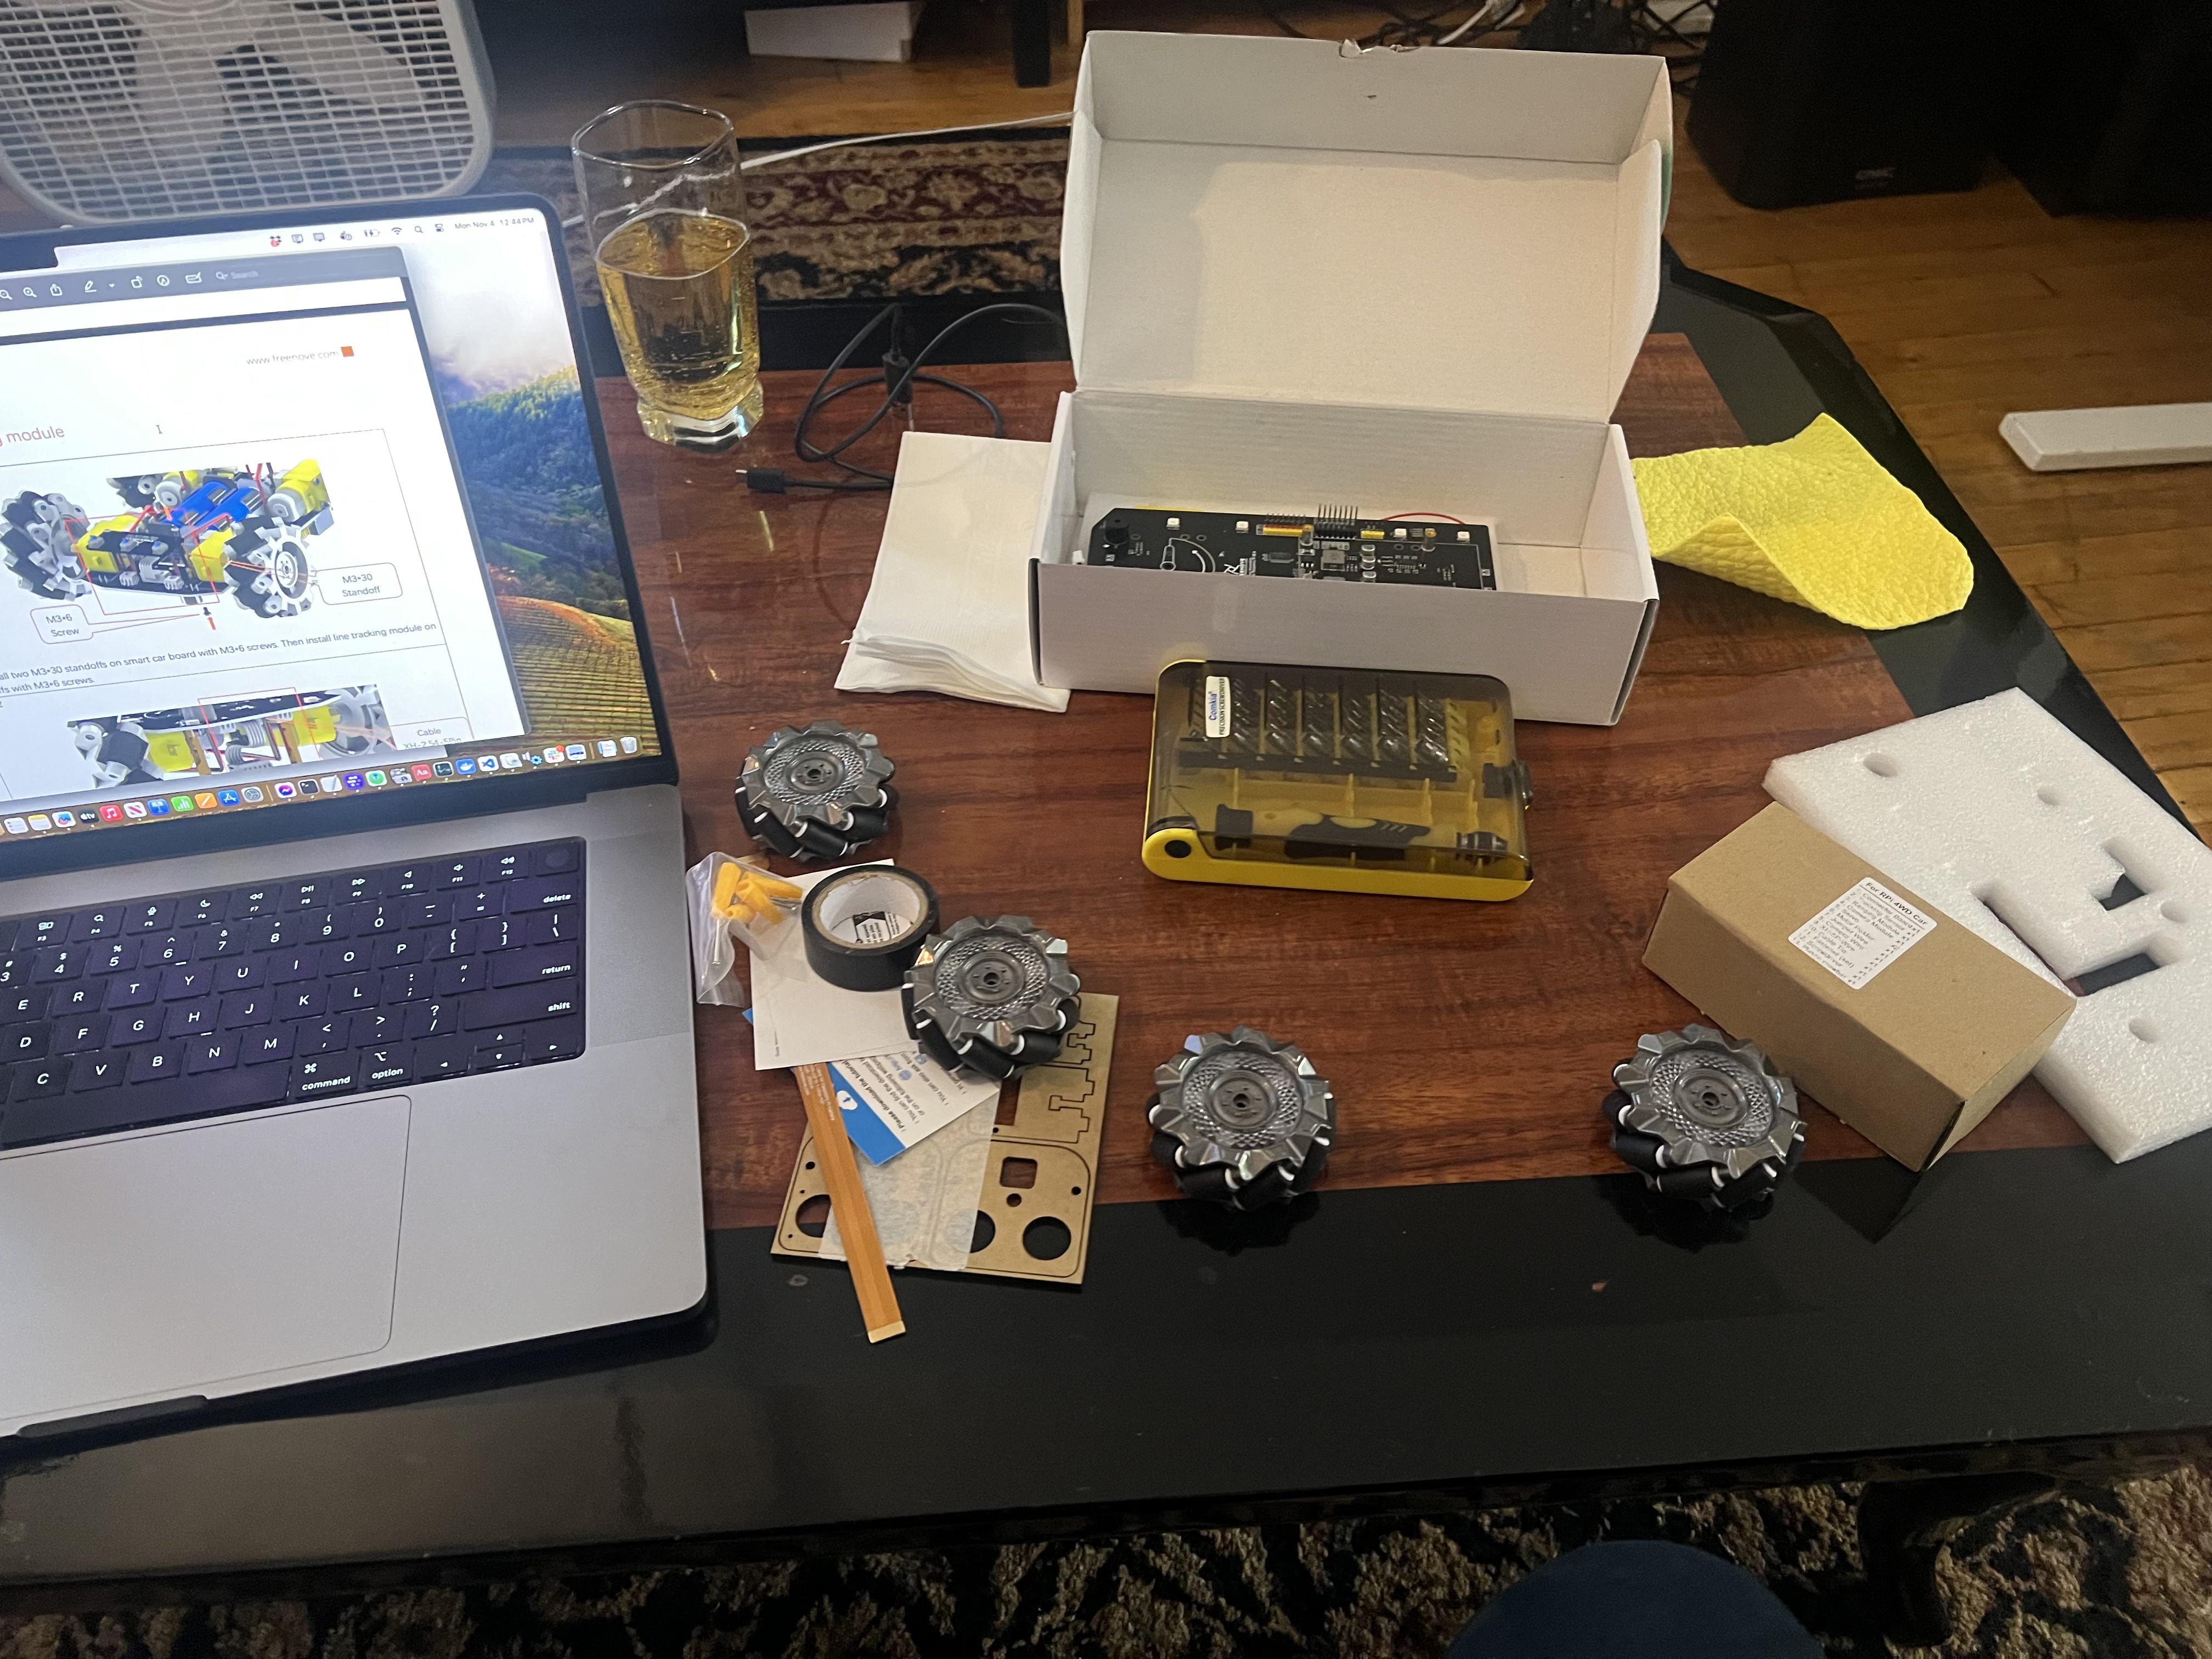
The good:
- It all mostly worked
- Support was responsive after I burned out a servo
- Mecanum wheels are really cool, and the algo to drive them is very simple
- It didn’t blow up when I hooked in power backwards
- It uses standard hardware with good driver support (standard raspberry pi camera, PCA9685 for servos/wheels)
The bad:
- The test code doesn’t actually run on rpi-5 by default, you have to comment out a broken import (I should make a PR fixing this)
- The front left motor is wired backwards - this isn’t fatal, more on this in the software post
- It’s not compatible with cooler and/or SSD hat by default - this is fixable, but annoying
- The camera servo mount is a little wobbly
- The camera cable is very flimsy, I nicked it and had to buy a new one
- There’s no way to run off of wall power, you have to buy batteries separately if you buy off of Amazon, and the batteries are hard to get out with damaging. I fixed this with some soldering.
- The nuts and bolts have a tendency to work themselves loose - I may go and reassemble it later with loctite blue on the threads
- I’ve already burnt out a servo - I don’t think it was my fault, but I’m not sure why this happened.
Would I recommend this kit? Yes! This is the real life robotics experience and matches my professional experience. I’m not a hardware guy, but just being a bit handy I was able to assemble it without much difficulty.
Raspberry Pi 5, HAT woes
The pros:
- It’s a Pi!
- Driver support is good
The cons:
- The wifi on this thing is horrendously bad (this might be fixable with some Linux magic)
- The CSI cable connector tends to come loose (this might not be the Pi’s fault, “loose camera cable” is a common robotics woe)
I actually bought and assembled the Pi first. As I was intending on doing development directly on device, I went and got the cooler and SSD. Probably worth the money!
Overclocking the thing tended to result in instability. I will likely try and set up distcc or a cross-compilation workflow in the future to build off-device to speed things up - but compilation time isn’t bad by any means for a codebase of this size.
Integrating with the FreeNove board was…difficult.
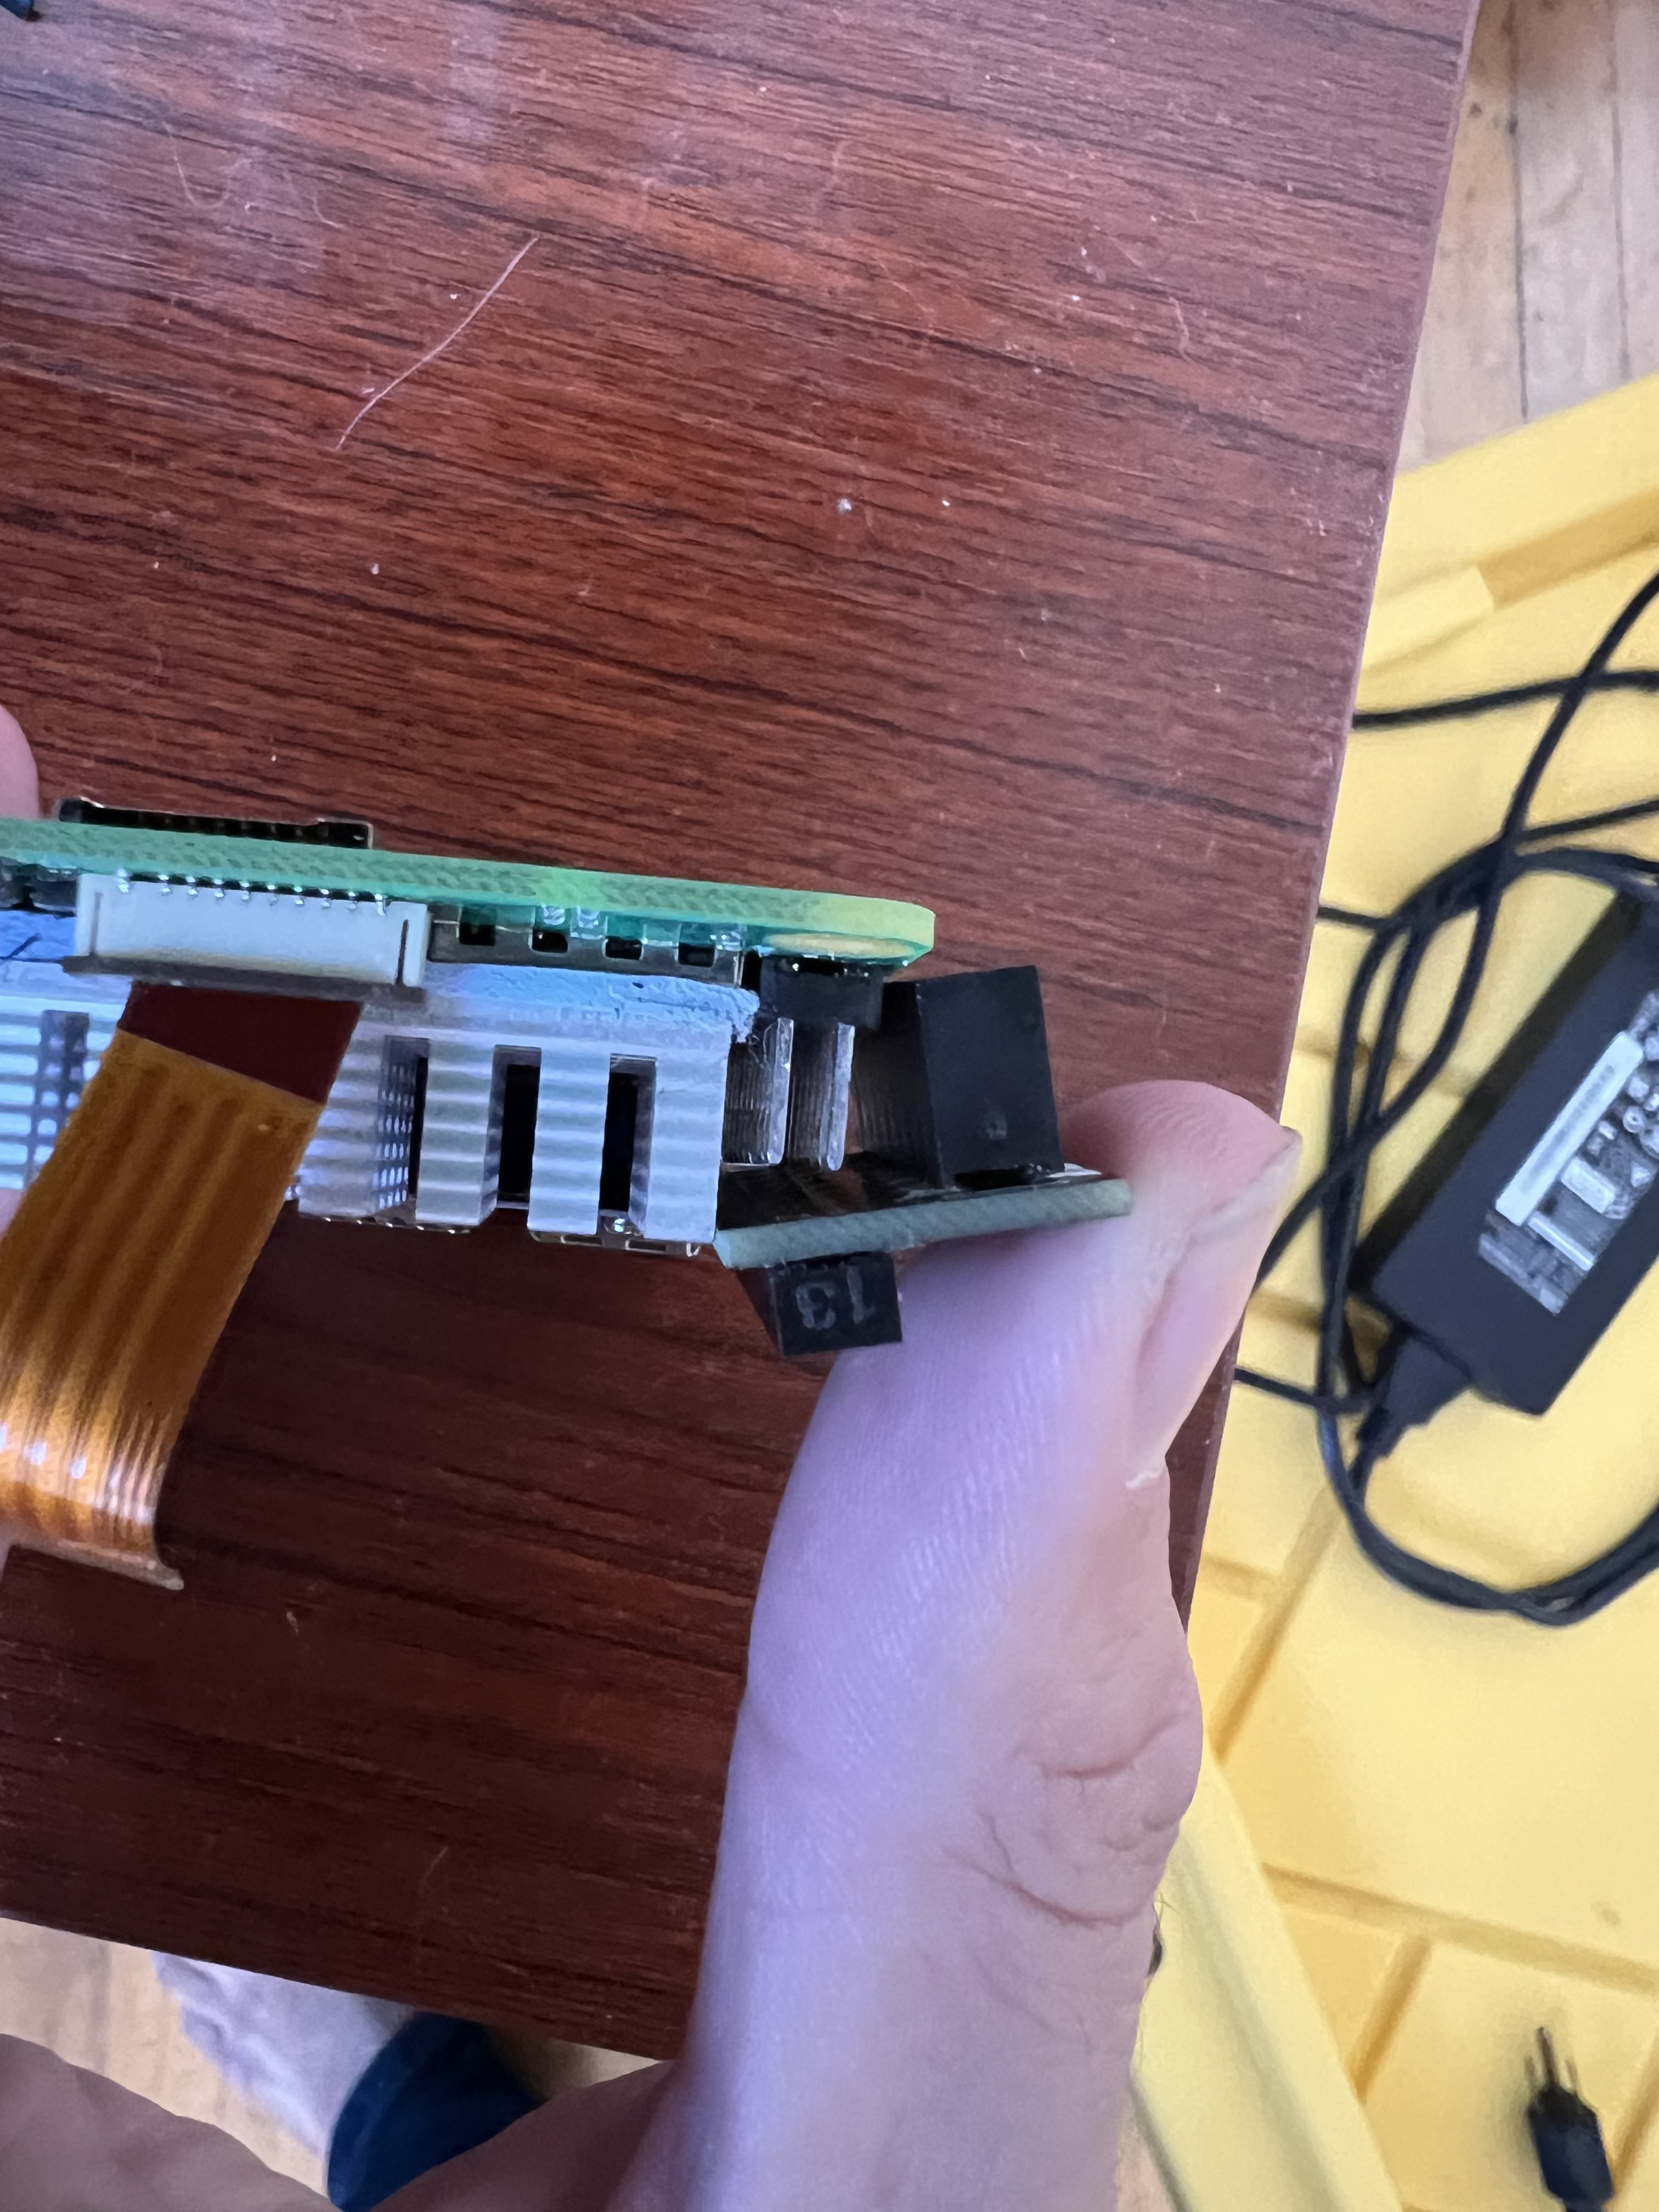
If you don’t have any HATs, this is likely super easy. If you do, it’s really sad - both the cooler and the SSD HAT block things. There are third party SSD boards that don’t sit on top - if you’re going to use this setup, it might be easier to get one of those, and not use active cooling.
If you do want to use this setup, here’s how I fixed it.
My solution:
- Get a 1 to 2 GPIO expansion, use it instead of the extender that comes with the SSD HAT
- Run a cable in between the expansion and the FreeNove board
I bought a cable that was too big and trimmed it down on the robot side, and bent pins on the expansion side, protected with electical tape. Do not do this. Go and find the proper sized cable (one with a 2x4 Pin DuPont connector on each end looks correct).
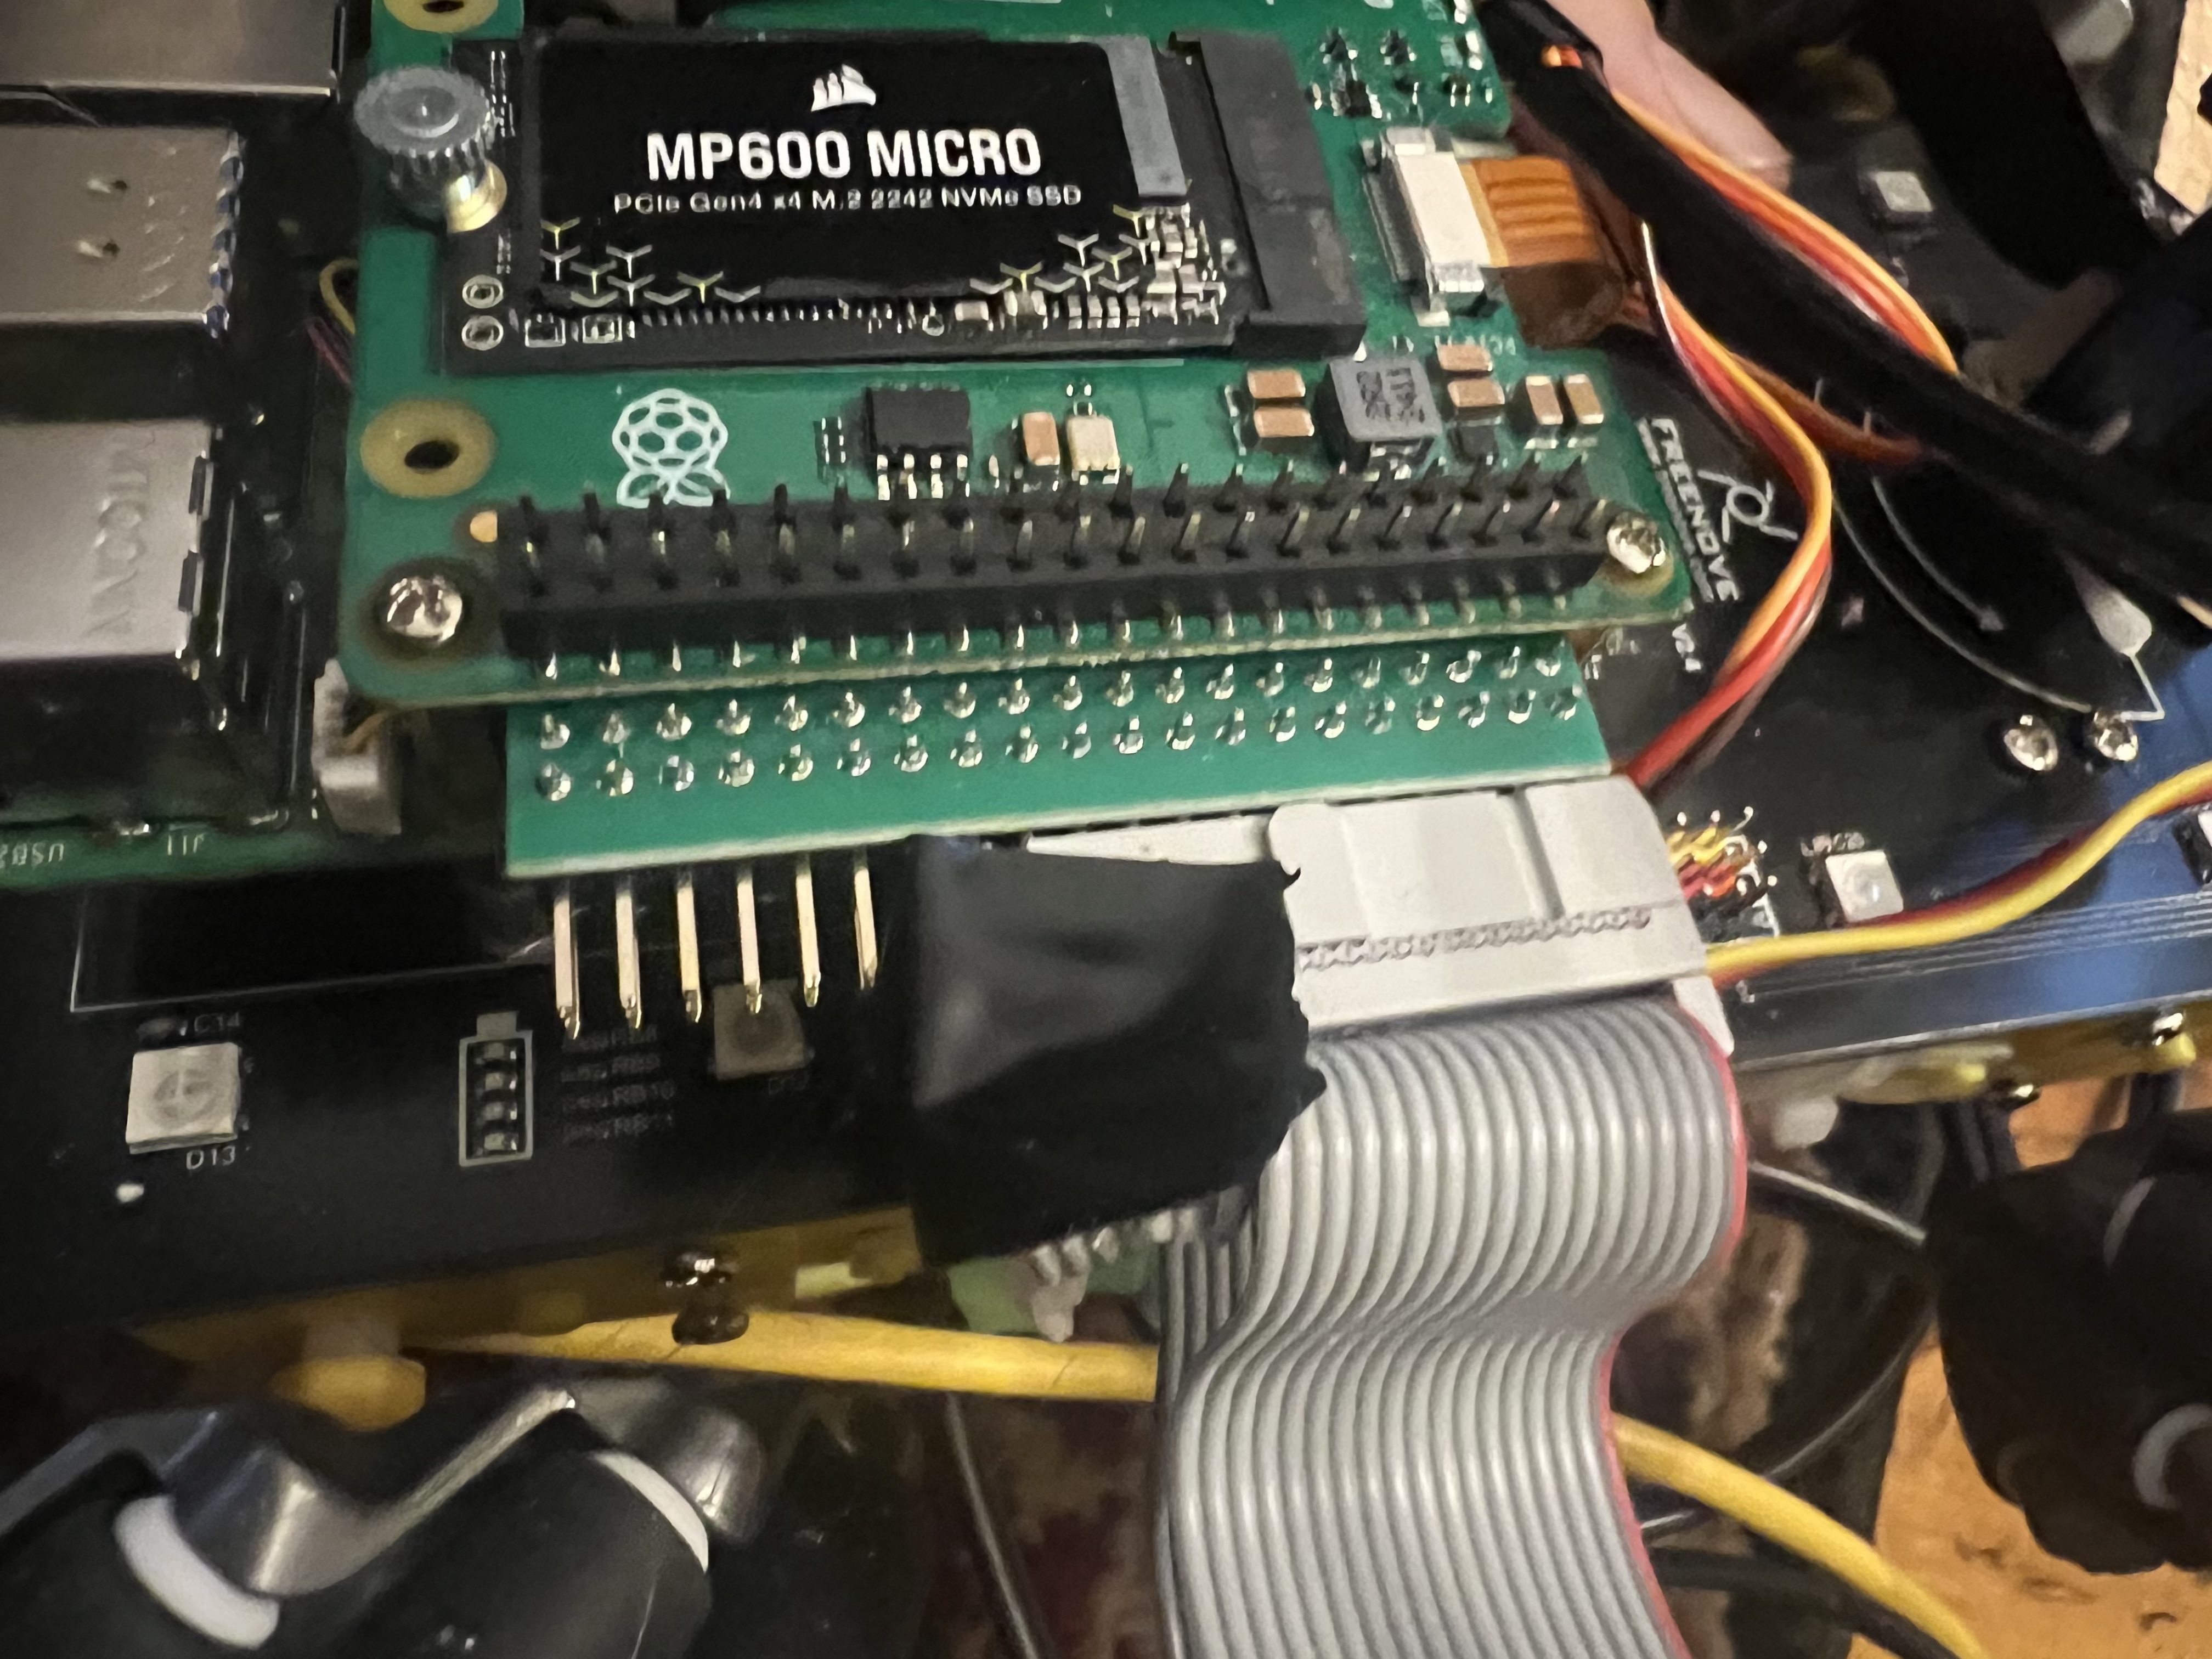
Power
The next issue was power - with only running the Pi on batteries, I got maybe a bit under an hour’s worth of power. Not great, not bad - but even if replacing the batteries wasn’t so difficult, if I’m heads down I don’t want to stop and kill my docker container, workflow, etc. After doing some research (asking EY), I settled on a Mean Well power supply. I need ~8V and >= 10A (supposedly), which put a lot of restrictions on using more consumer focused power supplies.
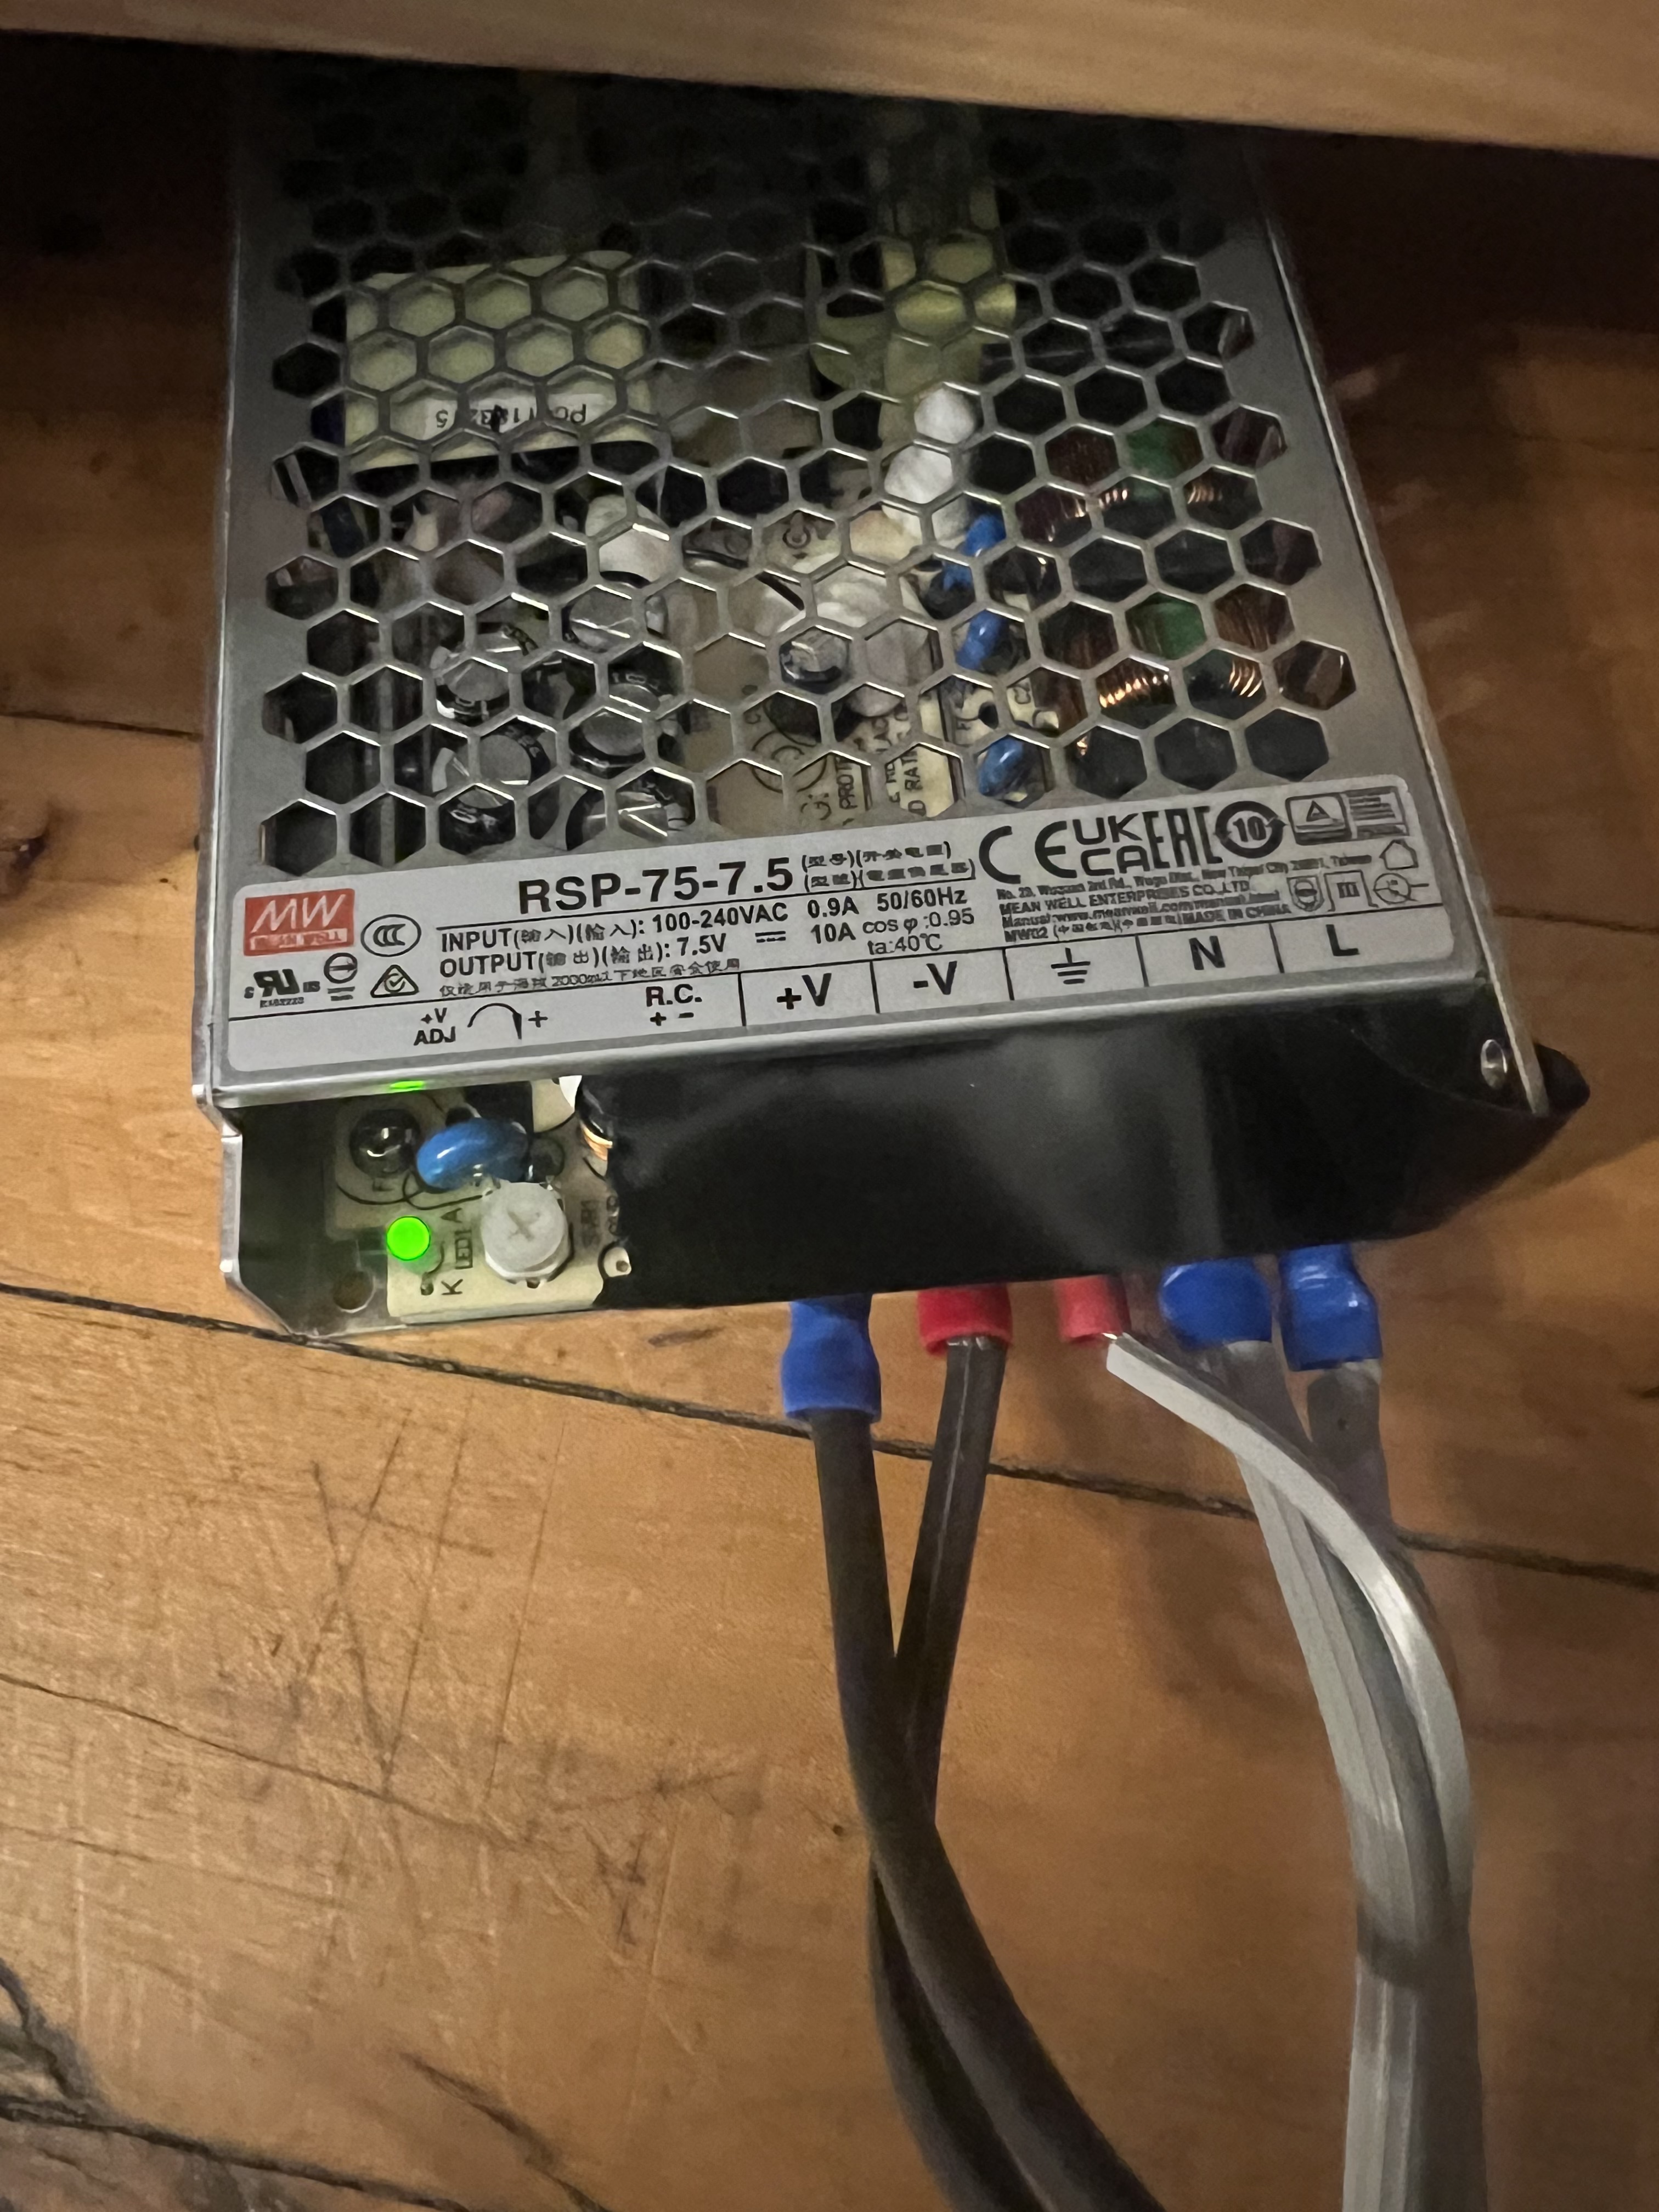
The Mean Well works great. The exposed mains power on top doesn’t make me too happy, but nothing some electrical tape can’t fix in the short term (and a cover in the long term). I bought a standard appliance cord to connect the wall power, and some 18/2 power cable for the DC side.
Some lessons:
- Soldering XT30 connectors is harder that it seemed - I ended up ditching them for cheaper crimping connectors. Skill issue, likely.
- If you’re soldering directly onto some materials, it helps to sand them.
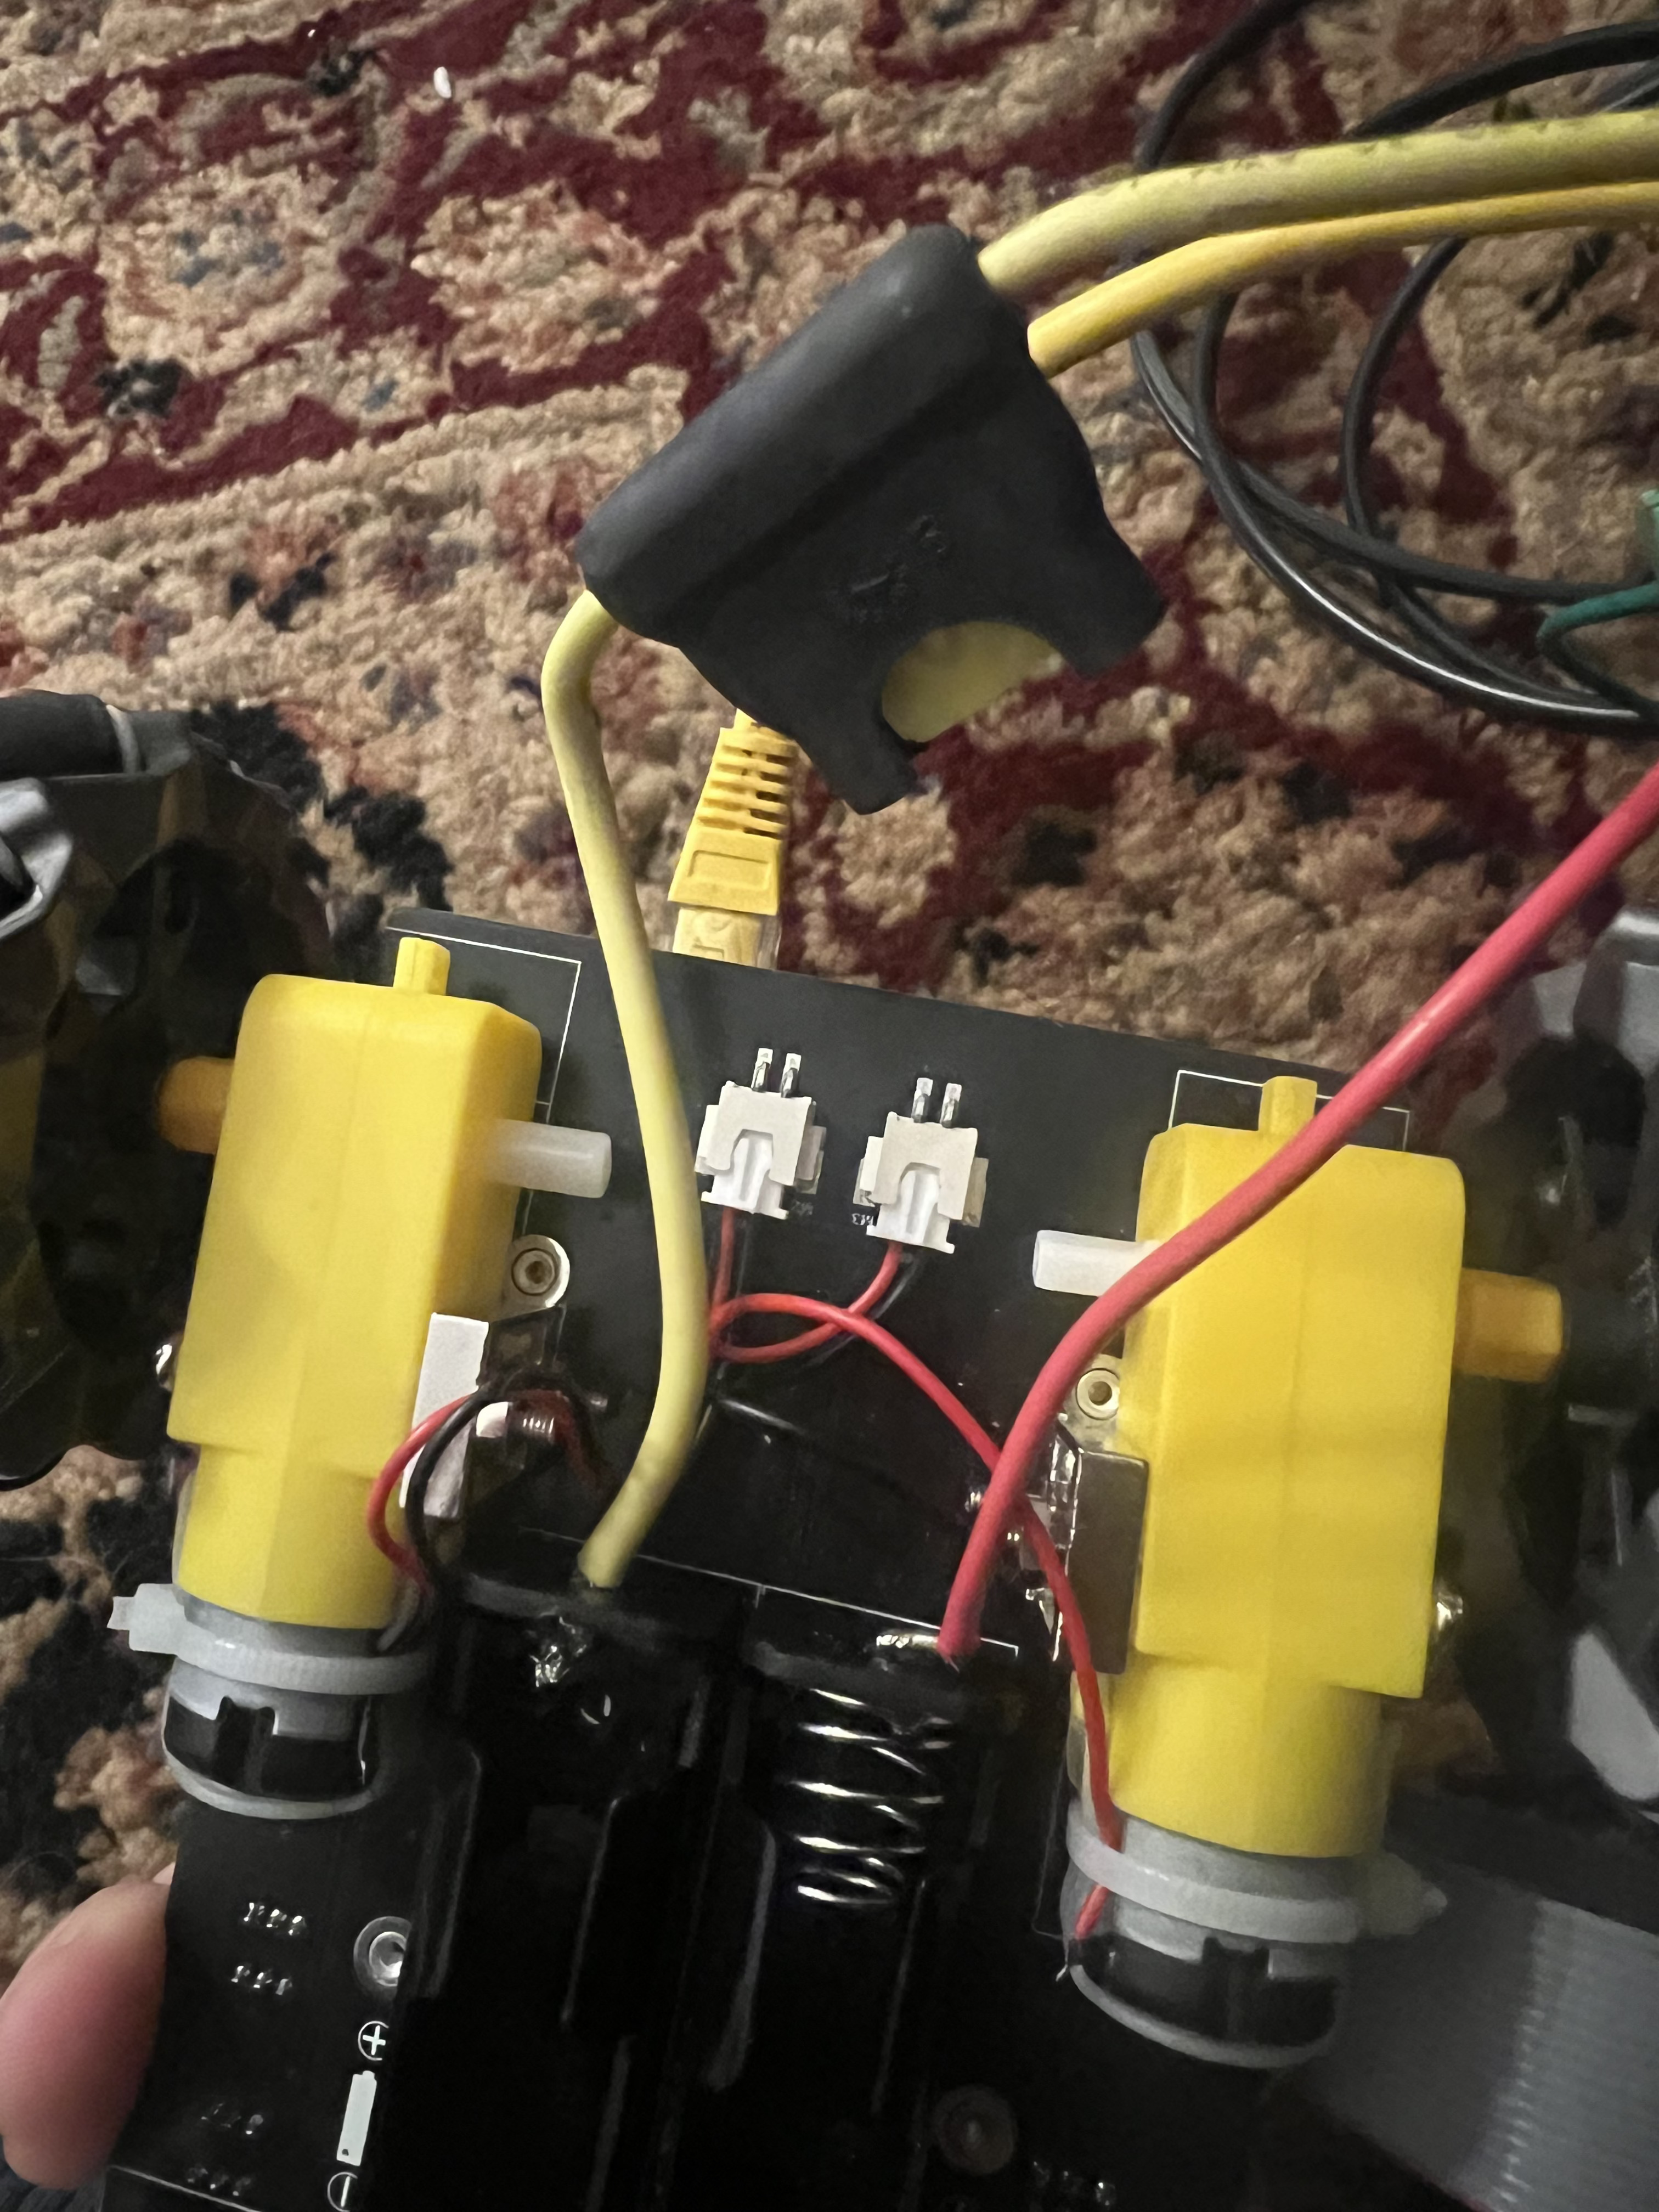
I’m likely going to pay someone to redo this for me in the future - what I have will work, it’s just not pretty. I’d love for a solution that lets the batteries sit in the holder and charge while also running the robot, but that’s beyond my expertise at the moment.
LiDAR
I haven’t yet hooked the LiDAR in, just ran it off of USB on my PC. It looks good. I’ll probably run it off of USB in the short term on the robot, but I’ll eventually properly hook up to the GPIO ports directly. The price is reasonable enough, but it is only a 2D LIDAR. I think in the future I want to a Unitree L1 LiDAR, but I’m a little nervous about power and compute requirements.

Final thoughts
Hardware is both easier and tougher than I expected. As it turns out, You can just do things. Any time I ran into an issue, it was mostly just a trip to Ace Hardware to fix it.